
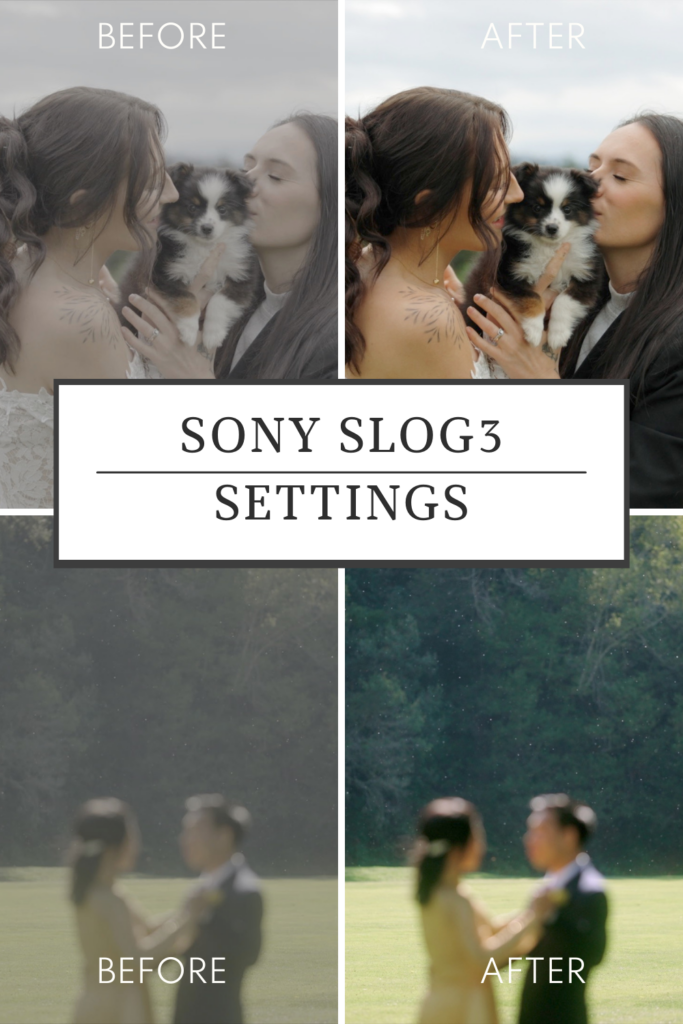
As a wedding videographer, we were always intimidated to make the switch to our Sony SLOG3 settings. But once we did, boy did we laugh at how amazing it was and how we shouldn’t have waited so long to make the switch.
You see, for the first two years of our wedding videography business, we understood we should be shooting in a gamma and not straight out of the camera. After some quick youtube searches about LOG gammas and shooting in flat profiles, we found that S-Cinetone was all the rave and very beginner friendly from Youtube. Therefore, we filmed in S-Cinetone for the first couples years of owning and using our Sony a7siii.
If you’re like us, and are shooting in S-Cinetone, or *gasp*… no gamma at all… and you’re ready to make the switch to LOG, than you’re in the right place friend!
You might ask, “Why do I need to film in LOG?” or “How do Igo from SUPER FLAT to normal?!” It seemed like everyone was gatekeeping this secret and it caused you to feel intimated at the before and afters.
Well, don’t worry friends, because we got you! Your quality of films will greatly improve by reading this blog post and getting your Sony camera set up with SLOG3 like ours!
What is a Gamma in a camera and how do you use it?
First, what is a gamma?
Gamma characteristics can be the difference between high-quality imagery and an absolute mess of tonal range and noise.
Similarly, photographers have two options in their digital cameras: JPG vs. RAW.
JPG being a compressed version and RAW being a high-res full dynamic range of color and light information. Professional photographers always shoot in RAW because it makes for better and easier editing. They are able to see more detail and manipulate the light and colors in their images better.
Essentially, Gammas or Flat Profiles in the video settings are roughly the same idea, but now we have multiple versions unlike one easy switch like in photography.
We get to choose exactly how flat or how much dynamic range to output our videos.
Therefore, a gamma is a curve in which we tell our camera how smoothly we want it to transition from black to white in a digital image. The flatter the gamma, the more range we are giving ourselves later in our edit.
What are examples of Gammas in a camera?
The most common gammas in digital cameras are Cinetone, LOG, and HLG (Hybrid Log Gamma). You’ll notice that your camera’s LOG will be denoted by a letter according to your camera system. For example, in Sony’s, it’s nicknamed as SLOG and in Cannon it’s nicknamed as CLOG.
To make things even more complex, there are multiple options for every gamma. You’ll notice in the drop down menu under “Picture Profile” in your Sony cameras that there are multiple versions like Cine1, Cine 2, Cine 3, Cine 4, SLOG2, SLOG3, HLG1, HLG2, etc.
A rule of thumb to know is that the higher the number, the more updated the version is. You might as well just use the latest version. The latest version of that gamma will have the better dynamic range compared to it’s older siblings.
How to set up Sony SLOG3 Settings in your camera
Here is a step by step guide to setting up your Sony SLOG3 Settings in your camera: We used our SONY A7SIII for this example.
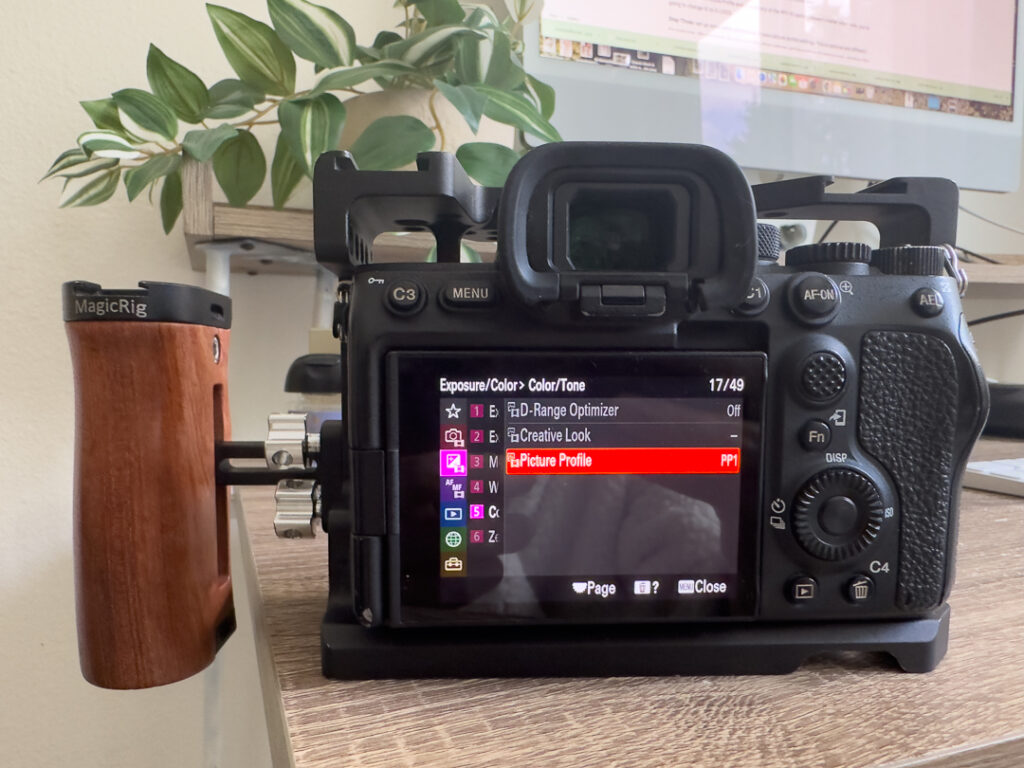
Step One: On the Exposure/Color Menu, go down to option 5: Color/Tone
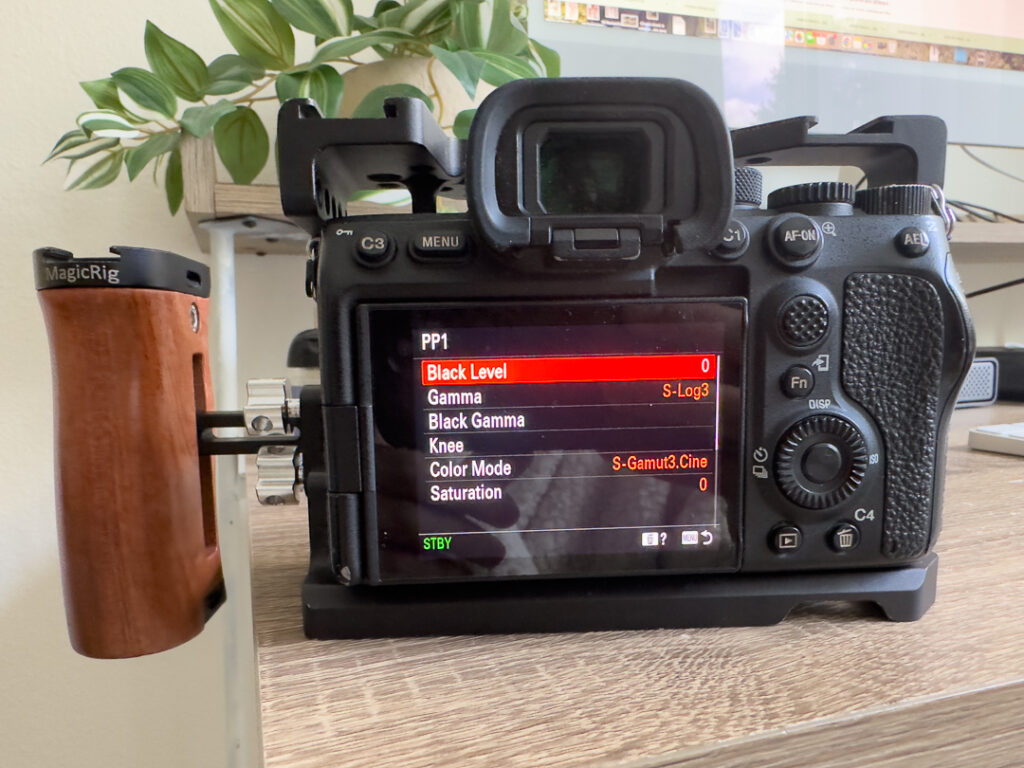
Step Two: Select Picture Profile and choose any of the PP1-10 options (doesn’t matter which one) and change the Gamma option to SLOG3.
Step Three: Next, set up some extra preferences in your picture profile settings. This is optional and different for everyone. We personally do not touch the other settings and leave them at zero or auto, whatever the default is. The only setting we change within SLOG3 settings are Color Mode. We change this to S-Gamut3.Cine
Step Four: We suggest adding the picture profile shortcut to your FN menu or C1, C3 shortcut keys, whatever is your preference. Especially, if you shoot both photo and video and you need to toggle on and off the flat profile during a shoot.
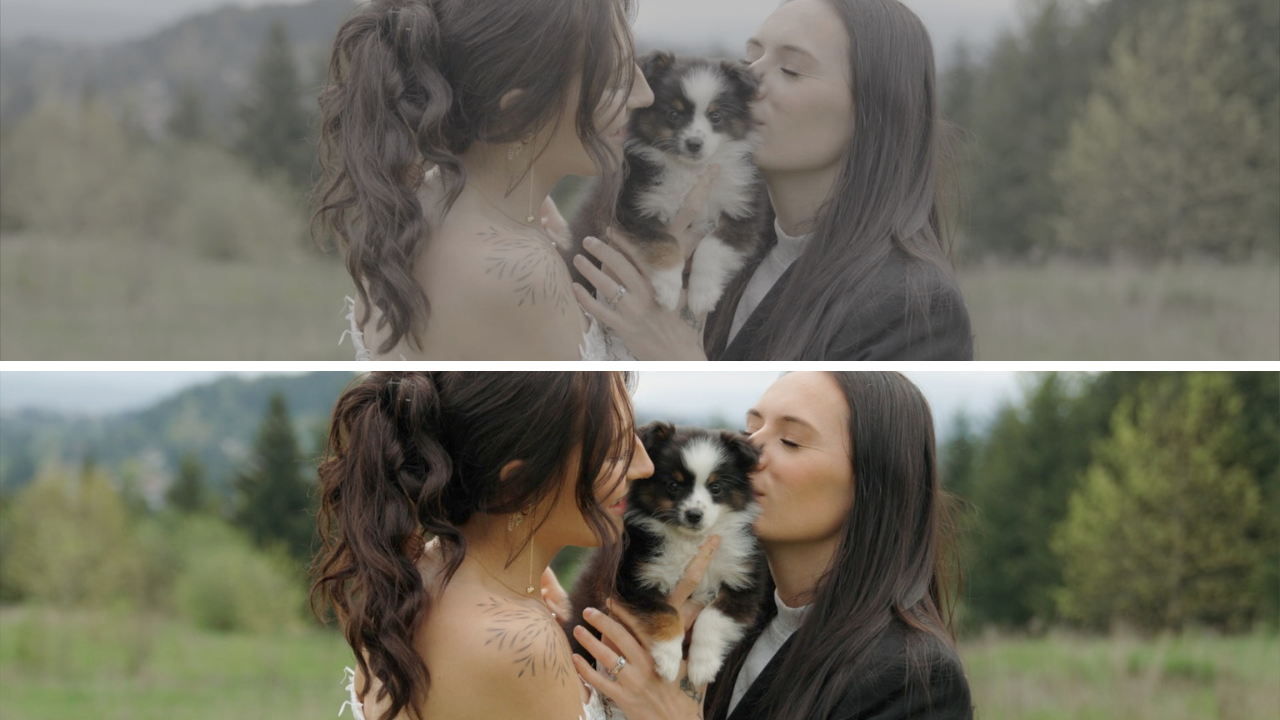
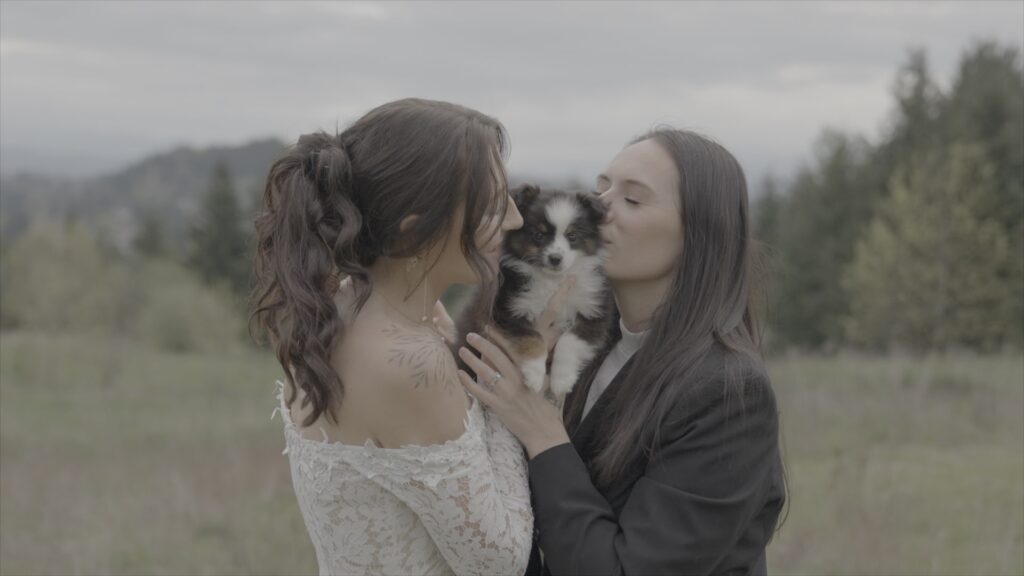
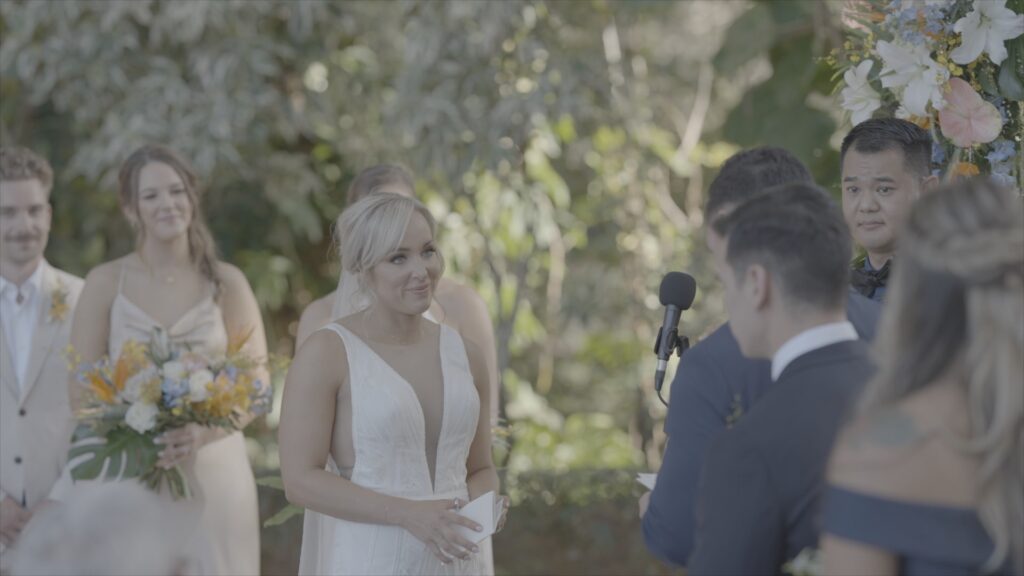
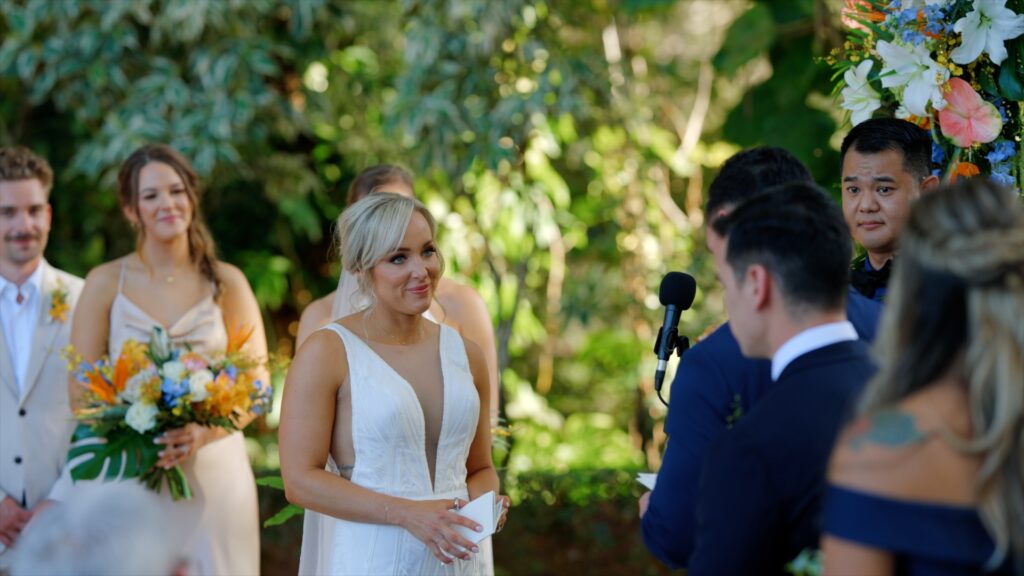
Step Five *IMPORTANT!: In the Setup Menu (it’s the suitcase icon at the bottom for reference), go down to Option 7: Display Option and select “GAMMA DISPLAY ASSIST” and turn that on! This applies a rec709 lut to your viewfinder/screen. This will help you see what the video will turn out as while you’re shooting (It’ll look like this eventually. You still need to apply the rec709 lut in post). This will significantly help you from under or over exposing while filming. Turning on Gamma Display Assist is very important when shooting in SLOG3.
How to film in SLOG3
Sony SLOG3 settings give you an amazing dynamic range and color information. Especially when paired with 4:2:2 10 bit color. To better understand the technicalities of Sony’s SLOG3 Settings, we highly suggest watching this youtube video by Gerald Undone.
According to this youtube SLOG3 analysis, when filming in SLOG3, it’s a good rule of thumb to overexpose your image slightly. If you’re in even light, you can use your light meter and keep your exposure between +1.0 and +2.0
When you’re in uneven light, such as, by a window, then we suggest exposing to the person’s skin color rather than relying on your light meter. Personally, I just eyeball this.
During, it’s important that you DO NOT UNDEREXPOSE. Underexposing your image while using SLOG3 settings can introduce more noise and will be very difficult to edit with in post. Therefore, it’s best to invest in good lighting equipment for dark environments like evening wedding receptions.
How to edit Sony SLOG3 Settings in Post Production
We use Final Cut Pro to edit our SLOG3 footage from our Sony a7siii and Sony FX3.
First, you need to buy a rec709 LUT. Gamut.io has affordable conversion LUTS for Sony, Canon, Panasonic, Blackmagic and more. Our luts, Poeta, also come with conversion LUTS!
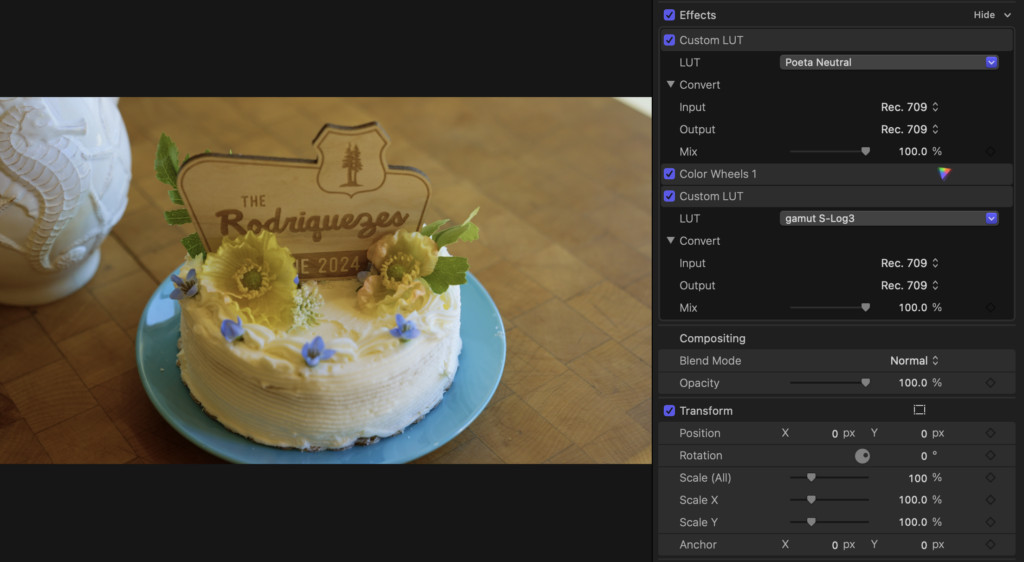
Second, it’s important to know that Final Cut Effects are processed from the TOP of the inspector window to the bottom of of the inspector window. Knowing this, and our understanding of color spaces, you will want to stack these layers accordingly for the best color grading management.
FINAL CUT PRO STEP BY STEP GUIDE:
Step One: Drag and drop the “Custom LUT” effect and apply your Creative LUT. A Creative LUT is a videographer’s stylish look to their work similar to photographers using presets. AKA this is your signature look that best matches your brand colors. There are a lot of great options but we highly suggest Poeta LUTS, this is what we use!
Step Two: Select your clip and add a Color Wheel to it. (This is our personal preference for color grading but feel free to use your favorite here: a color board or two, hue/saturation curves, etc. Either way, they need to be after your stylish LUT in the inspector window). You aren’t going to touch or edit with it just yet.
Step Three: Drag and drop another “Custom LUT” effect to your clip and apply your Rec709 LUT.
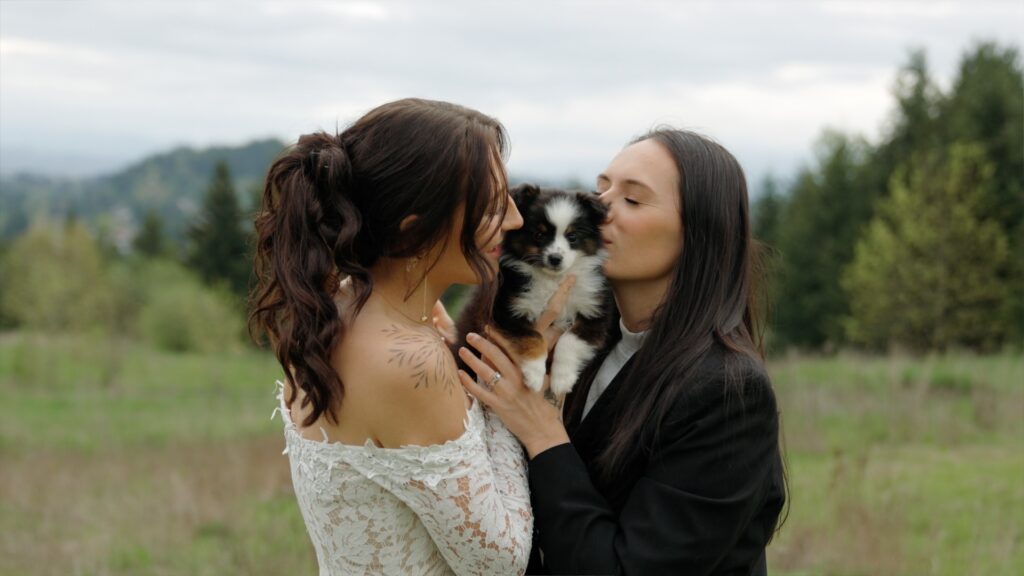
At this point, your clip should have been compressed to Rec709. It looks “normal” again and has your go-to stylish LUT added to it so you can get an idea of how it turned out!
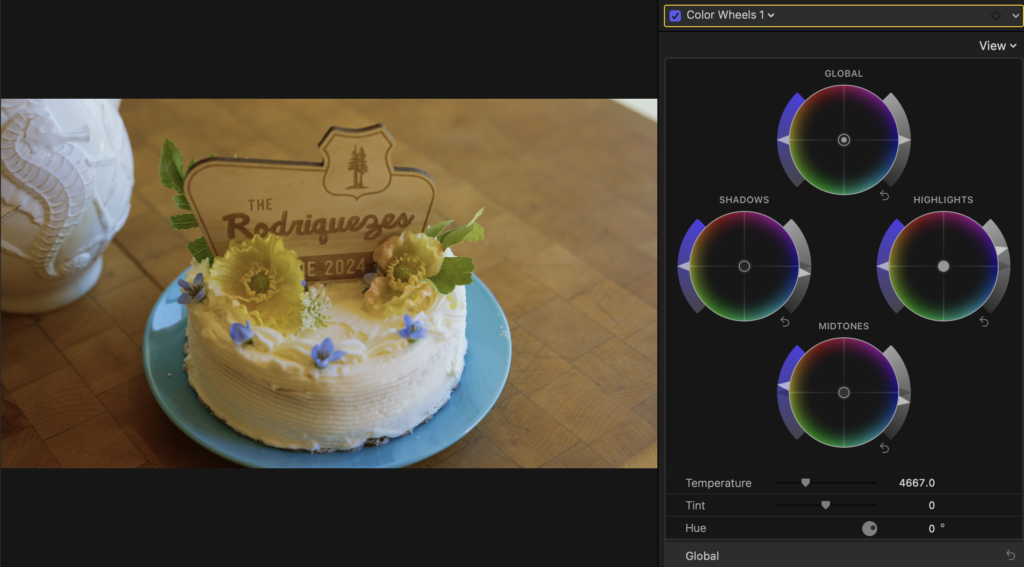
Step Four: Now, go back to your color grading tools wedged in the middle of your two LUTS in the inspector window and adjust your clip accordingly. If you use a stylish LUT like us and nail the exposure/temperature in camera, then not much should be adjusted in these color wheels/boards. The purpose of these is to color correct your image if you originally captured the scene with too much warmth, underexposed, overexposed, etc.
Quick Tip*: I use a color wheel to correct the clip with contrast, exposure, temperature + tint. Then I use a hue/saturation curve if I need to color correct their skin tones or any greens. Personally, I like richer, tanner skin tones and blue/greens rather than yellow/greens.
SLOG 3 –> Rec 709: Example in Redwoods Forest
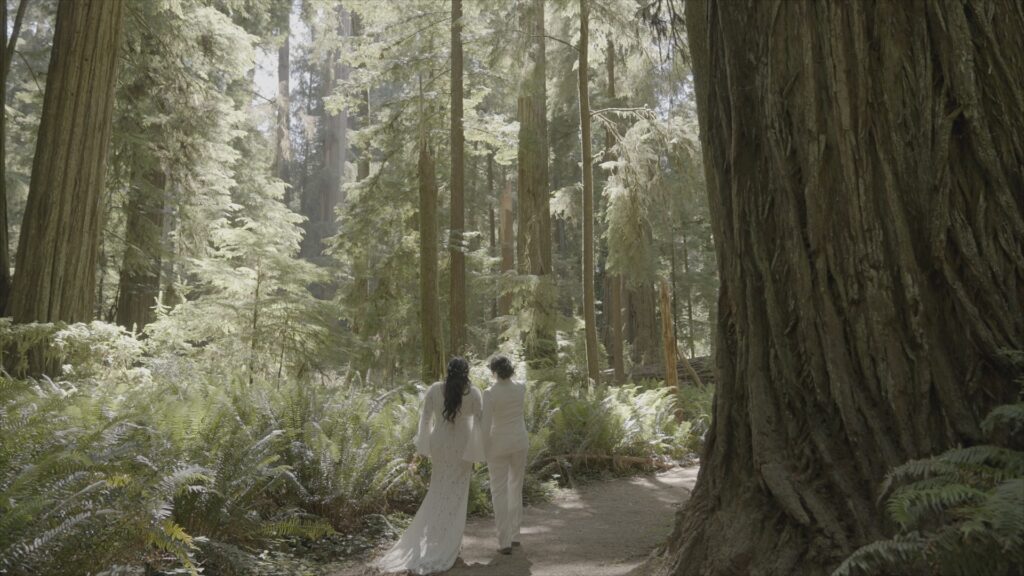


Sony SLOG3 Settings are that simple!
Can you believe it?! Sony SLOG3 Settings aren’t as intimidating as we thought. It can be really simplified and just as simple as filming in any other setting in your camera. All it takes is 1-2 extra steps in post which we’ve laid out for you.
Can it be simpler than this? YES.
Can it be more advanced than this? ABSOLUTELY it can!
Personally, our approach to our color grading style is more advanced than this. We just wanted this blog post to help encourage you to start shooting in LOG and take that necessary step for higher quality films.
If you’re interested in an exclusive inside look of how we color grade, go to @alesiafilms to join our subscription and watch us color grade wedding films on IG LIVE!
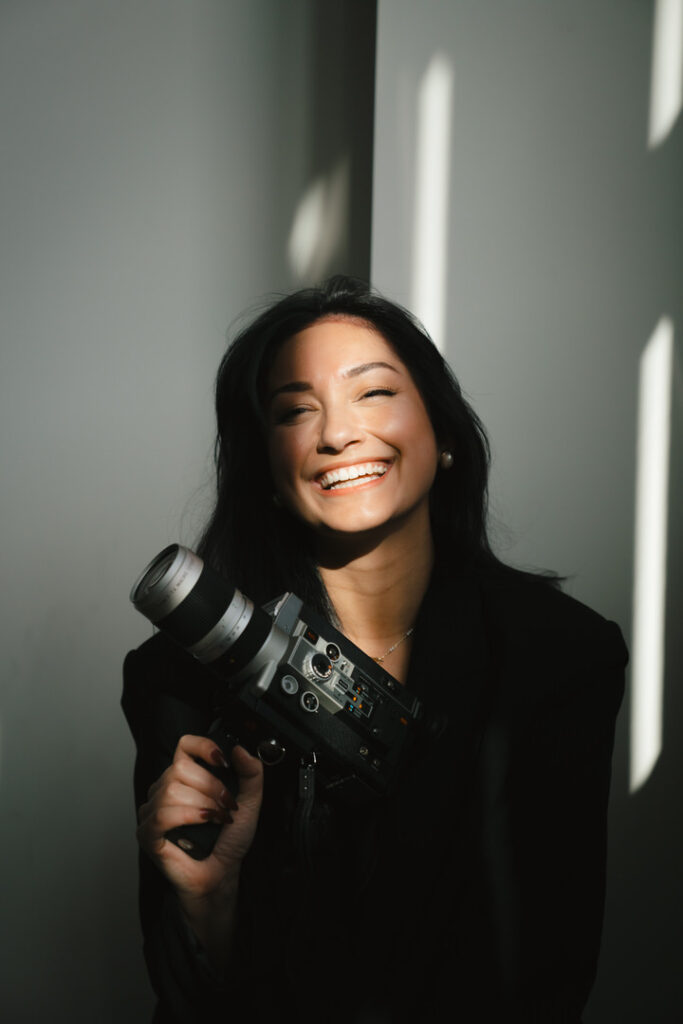
If you’re new here, welcome!
My name is Alesia and I’m a destination luxury wedding filmmaker that specializes in vintage super 8mm film. Our editing aesthetic is “Modern Romance with a Vintage Twist” and we’ve been featured in Vogue Magazine, Wedding Chicks, Rock and Roll Bride and more.
There’s nothing we love more than educating other videographers to create a business that helps others preserve their favorite life memories. If you haven’t found a wedding videographer mentor yet for your business, look no further than Alesia Films!
Wedding Videographer Mentor
We’re based in Portland, Oregon and we offer 2 hour zoom calls and in-person mentorships for photographers and filmmakers.
We’ve been educating creatives for over 3 years now and we believe in community over competition. There are enough clients for everyone to succeed in their market and genuinely create something unique for their own clients.
If you need someone to give you an honest outside perspective on your business model, give you editing tips and tricks or marketing advice for your area, then look into our 2 hour zoom call mentorships!

Thank you for this wonderful SLog tutorial!
I have a question regarding Step 5: “Gamma Display Assist” – my Sony FX3 has an option to turn ON the Gamma Display Assist; and then the next item in the menu is “Gamma Display Assist Type”. What assist type should this be? The options are:
1) Auto
2) SLog3 ->709 (800%)
3) HLG (BT.2020)
4) HLG(709)
So far I have selected Option #2.
Option 2 is perfect! You want it to match the gamma you’re in which would be SLOG 3 if you followed this blog!
Thank you!! 🙂
Great little tutorial, I used to shoot on Zcams in ZRaw, back new to Sony A7IV, much they same cheers for tips.